Thursday, December 31, 2015

Big Sweep 6, "Hallowe'en Lights!"

The Orange Strings Work For Me

"More lights = More lights!"

Four strands of Hallowe'en lights did the trick as far as I'm concerned.

Happy New Year's Eve.

Link to Big Sweep 5

See you in March.

Photo GH

Wednesday, December 30, 2015

Big Sweep 5, "Happy New Year"

Cleaned Up, Ready to Party


I think I need to string a few more lights. I think Hallowe'en Orange will fit right in, eh!

No work, or big messes, until March 1, 2016.

Link to Big Sweep 4

Photo GH

Tuesday, December 29, 2015

Two Deck Chairs

Rusty Metal and Dirty Teak

"One man's trash is another man's upcoming project"

Admittedly, this pair of deck chairs may look like they are ready for the scrap heap by most observers. But when I spotted them on the curb next to Wharncliffe Road yesterday, ready for garbage day, I decided to rescue them from their likely destination, London's landfill site on Manning Drive.

After I put about a dozen hours of hard work into them, I think the rusty metal and dirty teak will shine again. Since the workshop is closed until March 1 (except for very special events), readers will have to tune in next year to see the final results!

Link to another Upcoming Project

Photo GH

Friday, December 25, 2015

The Big Sweep 4

I Need More Christmas Lights!!


Things are looking good. Neat, tidy, every shelf dusted.

Yesterday, I disassembled and removed the yellow 'paint table' (lower right), and thought, "I need more Christmas lights for holiday celebrations in the shed."

Oh, just wait 'til you see the conclusion of 'The Big Sweep'.

"Definitely more lights and photos to follow"

Stay tuned.

Link to The Big Sweep 3

Photos GH

PS The workshop is now tidier and brighter than ever before and I will make every effort to do all cutting and sanding of lumber outside in 2016.

Wednesday, December 23, 2015

The Big Sweep 3

Layers Upon Layers

"The clock says 'Happy Hour' but I keep on sweepin'!"

Yesterday Mr. Shop Vac got a major, rip-roaring workout. Layers upon layers of dust disappeared, however, and in the future I promise to cut lumber outside - on windy days - so I can share wood dust and shavings with others.

Soon I will have the shiniest workshop in London.

"Why, I can almost see my face on the shiny surfaces"

Link to The Big Sweep 2

Photos GH

Tuesday, December 22, 2015

The Big Sweep 2

Down to the Last Shelf


I am almost finished my last job in the workshop for 2015, i.e., the Big Sweep. Just about every saw and hammer and piece of wood has been wiped clean. Just about every shelf surface has been vacuumed. I am down to the last shelf to vacuum and handful of lumber bits to save. When you smell a nice cedar blaze, you'll know I'm all done.

Link to Last Job, 2015

Photo GH

Tuesday, December 15, 2015

Small Kitchen Island

Oh Yeah - I Scooped This Idea


The talented and energetic Rebecca Harrison, a cousin twice-removed, displayed this photo on her FB this morning and my first thought was, hmmmm... I could do that.

I have lots of western cedar and I know where to get some sweet white pine. This kitchen table or island - notice all the easy straight lines - will be placed on my to-do list for 2016 or 2017.

Thanks, Rebecca.

Link to Specialty Birdhouse 2

Photo RH on FB

Monday, December 14, 2015

Last Job, 2015

The Big Sweep


This year-end clean-up will take another week at the rate I'm going. However, an hour here, and hour there will set me up for spring and a slowly growing to-do list for March!

See you then.

(re Second Last Job: I thought I had wood ready to make an LP Album frame. But I did not find it. So, on with The Big Sweep).

Link to Third Last Job, 2015

Photo GH

Thursday, December 10, 2015

Third Last Job, 2015

Medium-Sized Frames


Nice white pine for edges, plywood (3/8-inch) for back.
Once assembled I will add wood filler overtop a few strategically placed nails.
Sand and deliver.

Then, on to 'second last job', an LP album frame.

You'll never guess the last job for 2015!

Cheers,

Link to Reindeer Repair

Photos GH

Saturday, December 5, 2015

Reindeer Repair

Time For an Upgrade

"My back left left is loose. Can ya fix me up?" 

"What good is a nub?" Rudolph said.

Poor Rudolf. Came to the workshop with a wonky back leg and one antler missing, the other in bad shape.

"Now I'm not picking up wi-fi clearly either," he said.

What to do?

 "These antlers are huge! Love it!"

"I hear ya, Santa. Loud and clear. I'll be there in a jiff"

"Top rate," Rudolph said to me. Then he flew out the door as if he didn't have a second to waste.

Link to Birdhouse Repair

Photos GH

G.H. Models 6

Cute as a Cupboard Handle

"I like this colour combo. What would little birdies tell me?"

And this one makes three. That is, three of six GH birdhouses are finished, but the other three can wait 'til spring 2016.

I drive to Habitat for Humanity outlets on occasion to grab a selection of 'this and that', which often includes cupboard or drawer pulls. I think they make fine, interesting perches.


Link to G.H. Models 5

Photos GH

Friday, December 4, 2015

G.H. Models 5

Fully Assembled

"The one on the left is actually two-tone green. Must be the lighting"

Second coats dried overnight and yesterday afternoon, while tapping my toes to a well-used CD, I tapped a few nails into place and - voila! - two colourful and spacious birdhouses are now ready for my next sale, this coming Saturday.

 "The rescued drawer handles fit the bill. Happy landings!"

 "The cedar base and support stick, attached w screws, can be easily removed"

"I just need thirty minutes to put this one together too"

And, if time allows, I will have a third ready before I head out the door tomorrow morning.

Link to G.H. Models 4

Photos GH

Wednesday, December 2, 2015

B&W PEI Birdhouse

Lovely Lovely PEI Barnboard


My sister Lannie and brother-in-law Jim are surrounded by this type of lumber.

I am soooooo jealous!

Link to B&W Wee Houses

Photo GH

Specialty Birdhouse - PEI Lumber 5

Don't Throw Out Yer Wooden Spoons

"Lovely lovely lumber, I say"

I loved working with the ten short wooden slats I brought back home from PEI earlier in the fall. I was able to build four birdhouses - 11 inches tall, 10 inches wide, 8 inches deep - and with the addition of four wooden spoons I was able to pull in free wi-fi for the birds.

 "There are slight differences between the two.
Same deal on wi-fi but different roof angle"


"I wish I had another truck load of that lumber!"

Oh yeh, the birds love getting cozy inside the sturdy grey houses, opening their small laptops and tuning in to their favourite programs. I'm pretty sure I heard a pair of chickadees laughing at an episode of Coronation Tweet just the other night. Good for them. I'm hooked on it too.

Link to PEI Lumber 4

Photos GH

Dusty Duplexes 4

Everybody's Dressed Up But Me

"Red and blue, just for you"

I enjoyed dressing up two dust-covered duplexes made out of rescued lumber, from the plywood base, old pine faces (former cupboards) and driftwood branches from Port Bruce. I will do the same 'dressing up' for four more, in the spring of 2016, after I take time off to tidy up myself.


"The Workshop closes in one week. See you in March, 2016"

Link to Dusty Duplexes 3

Photos GH

G.H. Models 4

First Coats

"Two-toned green and blue/yellow combos coming at ya"

I like the different stages related to building a birdhouse, especially when I sit down to choose the colour or combination of colours... because I'm so colourful myself. (Insert laugh track here).

Okay, so you can see what I've done w first coats. hopefully, if all goes according to plan, I will have a dynamic duo - made almost entirely of red and white cedar - ready by Friday PM.

Stay tuned.

Link to G.H. Models 3

Photo GH

Monday, November 30, 2015

G.H. Models 3

Making Good Progress

"12 cedar slats + a top (and a few other bits) = a G.H. BH"

I will try to finish three white cedar flat-top birdhouses (of the six) by Friday and take them to my last sale of the year. Sometime next Saturday or Sunday I will be locking up the workshop for 2015, the earliest date in quite a few years.

I know that leaves a few projects in limbo 'til springtime but I have a pile of writing projects that need attention. I think that in the future I will try to have a high and low season, in alternating fashion, with the workshop and writing projects. That's what I say now : )

"The roof supports and interior skeleton are visible above"

Cheers!

Link to G.H. Models 2

Photos GH

Funky Birdhouses - For Hobbits 6

Voila!

"All the trim is in place except for the support stick at back"

Once the trim dried I attached all the pieces in less than ten minutes. The chimney took more time to get into the right position than anything else but I think the final wonky angle suits the Hobbit house just fine.

I will not attach the support stick to the back - I'll let a buyer do that job, if it's desired - because then the birdhouse is harder to store on a shelf or pack into a box.


Hobbit house Number 2, with varnished cedar roof, should be finished by Friday. Maybe.

So, 'maybe' more to follow in 2015.

Link to For Hobbits 5

Photos GH

Saturday, November 28, 2015

Funky Birdhouses - For Hobbits 5

Two Hobbits, Two Coats


The two Hobbit houses not only need two coats of paint (or varnish on one's roof) but two coats of paint on a bucketful of pieces of trim. I'll let the trim dry overnight, then return to the workshop tomorrow for about 10-minute's work with completed trim. I think the finished product will certainly be unique.


More to follow.

Link to For Hobbits 4

Photos GH

Friday, November 27, 2015

Funky Birdhouses - For Hobbits 4

Table for One?


I have two Hobbit houses on my paint table but only enough trim for one of them. Trim for one takes up all the space! No wonder I only make a few of these 'funky houses' at a time.


Progress is slow but my boss is easy to get along with most days.

Link to For Hobbits 3

Photos GH

G.H. Models 2

One Step Closer

An original J.R. birdhouse. From teak w 1/4" aluminum plate roof.
Photo credit - modernbirdhouses.com

I know that early J.R. birdhouses (above) look like an easy type to build - a rectangular box with a flat, sturdy roof - but they were not. Start looking for teak, aluminum plating and chromium screws and you'll see why.

The ones I'm building - from rescued cedar slats - are perhaps just a touch easier to put together, and I call them the G.H. with a tip of the hat to J.R. Davidson. That being said, mine do require a lot more parts (20 in all) and therefore more sanding and assembly time than my standard birdhouses.

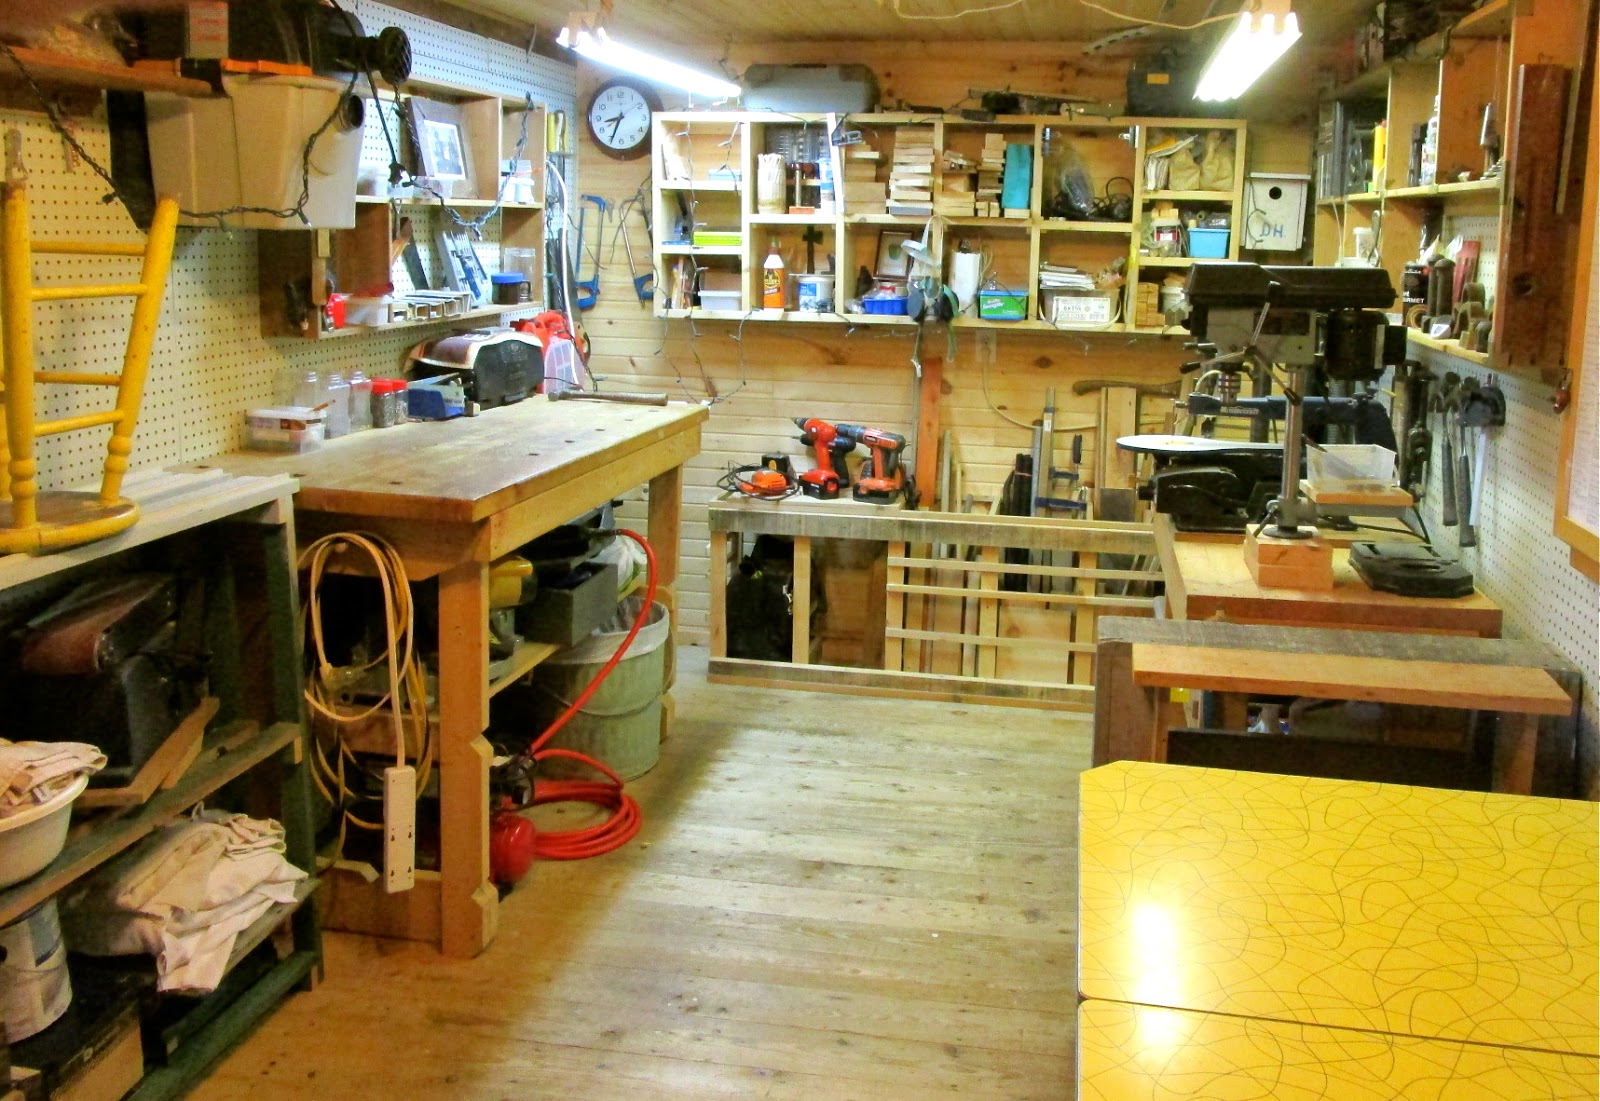
Thankfully, the sander makes my job easier.


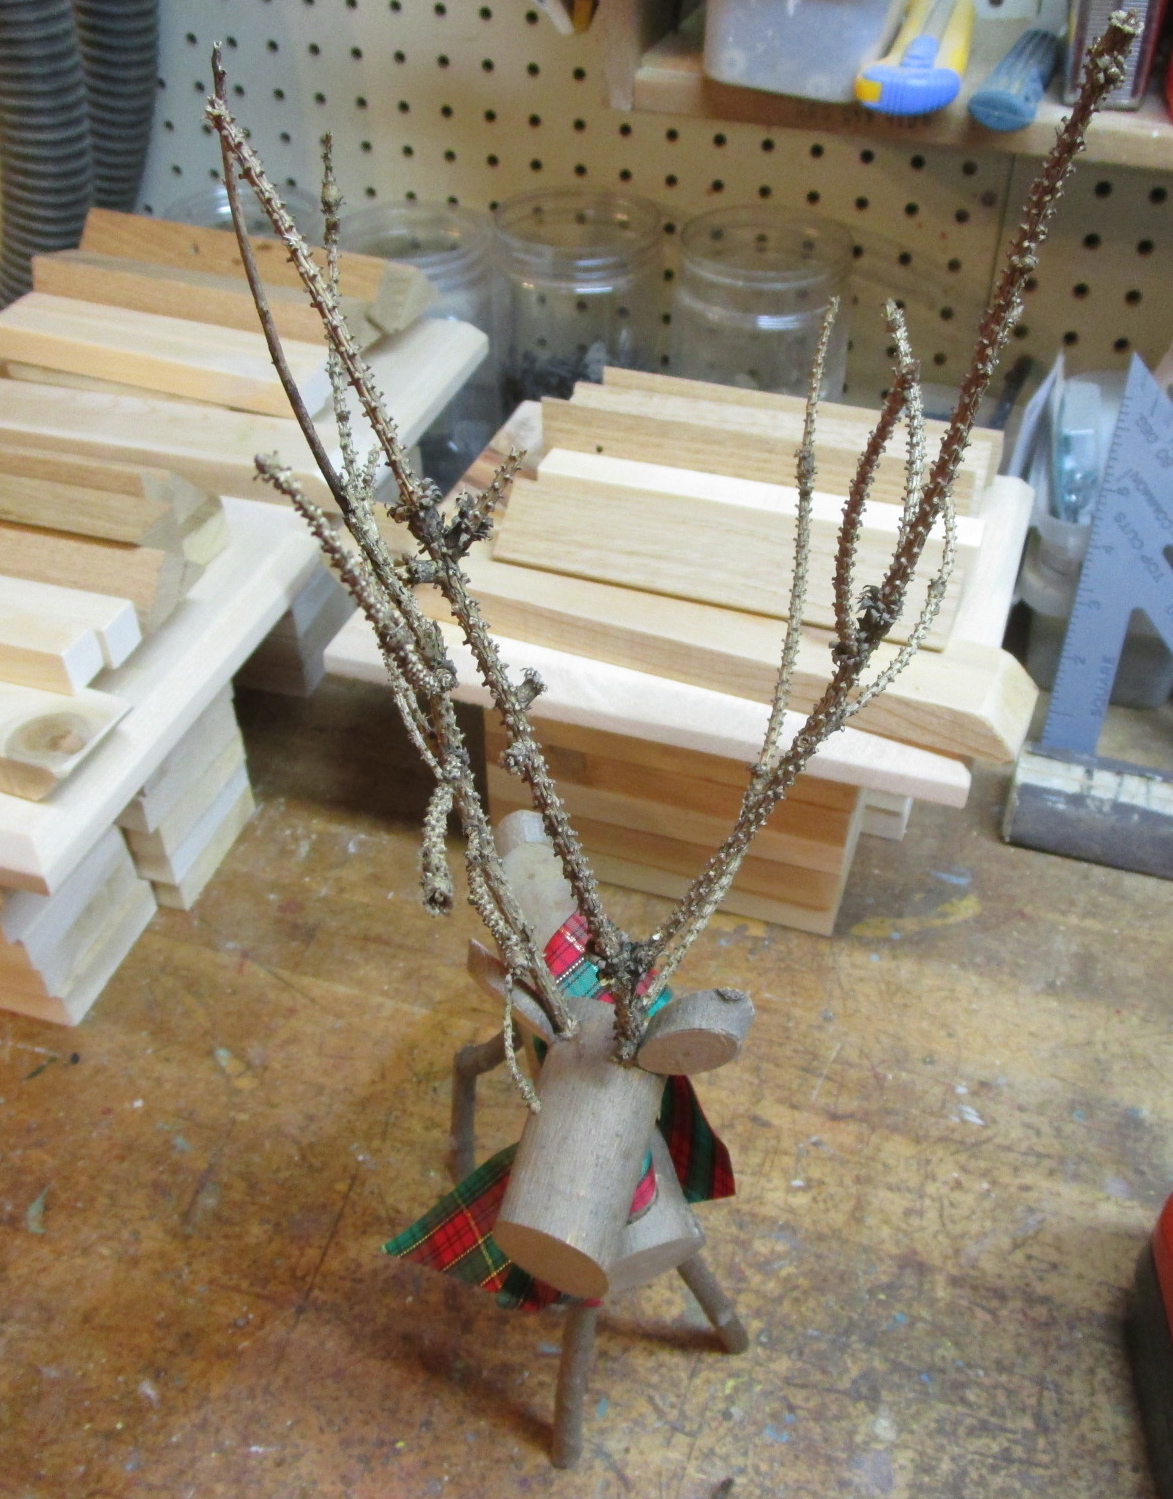
"12 rectangles, 1 roof, 2 roof supports, 1 base and
4 interior braces per G.H. house. Lots to sand"

More details to follow.

Link to J. R. Models

Photos GH

Thursday, November 26, 2015

Funky Birdhouses - For Hobbits 3

First Coats AOK

"The Marine varnish shows off the rich western cedar slats"

With first coats done I have the feeling the Hobbit houses look AOK - I may do more in the future - and at least one may be ready by Saturday.

That being said, I also get the feeling, when I look at them straight on, there's a guy or gal somewhere with a bad '60s haircut that is saying, "That birdhouse looks like me!"

: )

 So, one psychiatrist says to the other, "How are you today?"

And the other one says, "What did you mean by that?"

Link to For Hobbits 3

Photos GH

Wednesday, November 25, 2015

Funky Birdhouses - For Hobbits 3

I Like These Cedar Roofs


Count 'em. The roofs are tricky because 18 of the 20 cedar slats have to be angled, sometimes on both sides, in order to fit properly and tightly into place. (A standard birdhouse has two or four slats). On a Hobbit house, 30 - 60 minutes per roof is the norm. Why, I could make a giant snowman and grow carrots for its nose in that amount of time!

That being said, I like the final result and will paint one roof and coat the other with Marine Varnish. Then I'll work on the trim. I'm pretty sure the trim will take more than the standard amount of time too, what with the curved chimney and all!


Link to Funky - For Hobbits 2

Photos GH